

Make your own cider. Cider making, French cider. Learn how to brew your own apple cider.
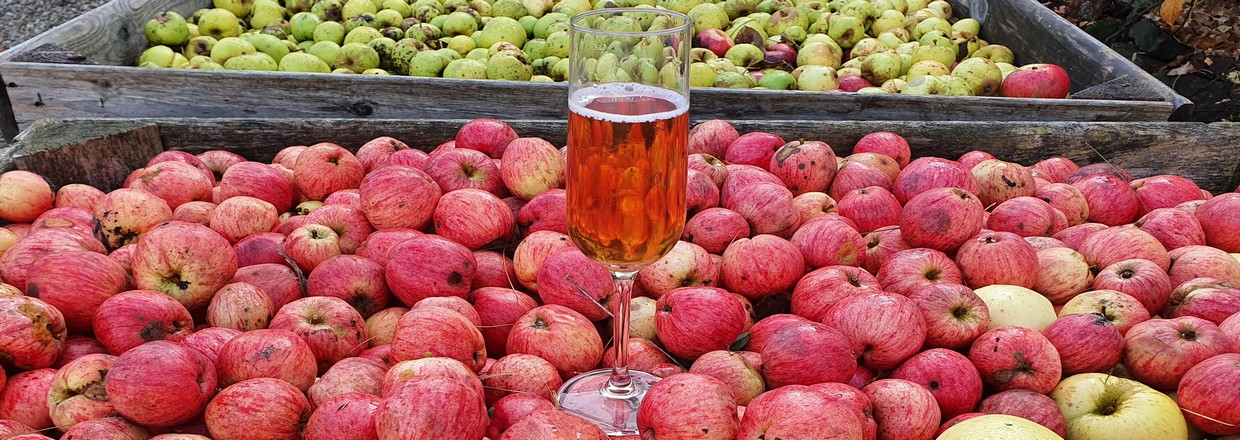
Apple cider – golden, lightly sparkling and served chilled…
French cider refers to the production method in which a cap develops and is skimmed off before the cider is fermented with its own wild yeast.
French cider is technically more challenging to learn to make, but this style has the clear advantage that your cider can be bottled with a much higher level of residual sweetness.
| Perhaps your passion for cider began during a visit to one of Europe's renowned cider regions, where generations of cider makers have perfected the craft of transforming fresh apples into authentic, naturally sparkling cider. |
Or were you luckier and experienced the real thing: good fermented must that had been allowed to develop naturally?
Perhaps you came across one of the English apple ciders, maybe barrel-aged or with a high alcohol content?
Did you discover a wonderful French apple cider with a slightly lower alcohol content and delicate bittersweet apple notes?
Perhaps a good craft-made cider?
Fortunately, the selection is growing and the products are becoming more accessible to us all.

When you have access to apples and a fruit press and know the unrivalled, truly sublime flavour of unfiltered, freshly pressed apple juice, it is easy to imagine the wonderful taste experiences awaiting you when the juice is refined into products such as cider.
When searching online, you will find various methods for making your own cider.
The following description focuses on French cider.
When you produce cider using the French method, you can achieve a high-quality final product through a process in which good raw materials undergo stages that can result in outstanding flavour experiences.
This guide presents a method in which the apple is given the time and conditions required for the true nature of the cider to emerge in both the process and the flavour.
Would you like to learn the craft and take the next step towards joining the community of dedicated cider makers?
Across Europe, cider making has centuries of tradition and is deeply rooted in local culture. Every cider-producing region has developed its own distinctive methods, apple varieties and flavour profiles. From the bittersweet ciders of Normandy and Brittany, to the traditional farmhouse ciders of England and the natural sidras of northern Spain, European cider is defined by diversity, craftsmanship and respect for the fruit.
Today, cider makers have access to more knowledge, better equipment and specialised fermentation products than ever before. Yet the principles behind great cider remain unchanged: carefully selected apples, attention to detail and patience throughout the production process are still the foundation of exceptional quality.
Whether you produce cider commercially or as a passionate hobby, understanding fermentation, acidity, tannin balance, clarification and maturation will help you create ciders with greater complexity, balance and character.
Fortunately, today's European cider makers can combine generations of traditional knowledge with modern fermentation technology. This combination allows both small-scale producers and professional cideries to create authentic, high-quality ciders that reflect both regional traditions and their own individual style.
Consumer interest in genuine craft cider continues to grow throughout Europe. While commercial ciders introduced many consumers to the category, an increasing number of people are now discovering the depth of flavour, authenticity and diversity that can only be achieved through traditional cider making using fresh apples and carefully controlled fermentation.
| Apple cider is fermented apple juice |
The dedicated cider maker must be patient, willing to exchange experiences, driven by a desire to experiment, fond of high-quality raw materials and, last but not least, passionate about great flavour. The cider maker must also be willing to learn through trial and error and accept that cider making is based on natural raw materials, which means that flavour and success will vary. It is, however, a wonderfully fascinating craft that can (and must) be learned.
The flavour of your homemade cider depends on the varieties available to you, the sweetness they contain and the craftsperson – namely you.
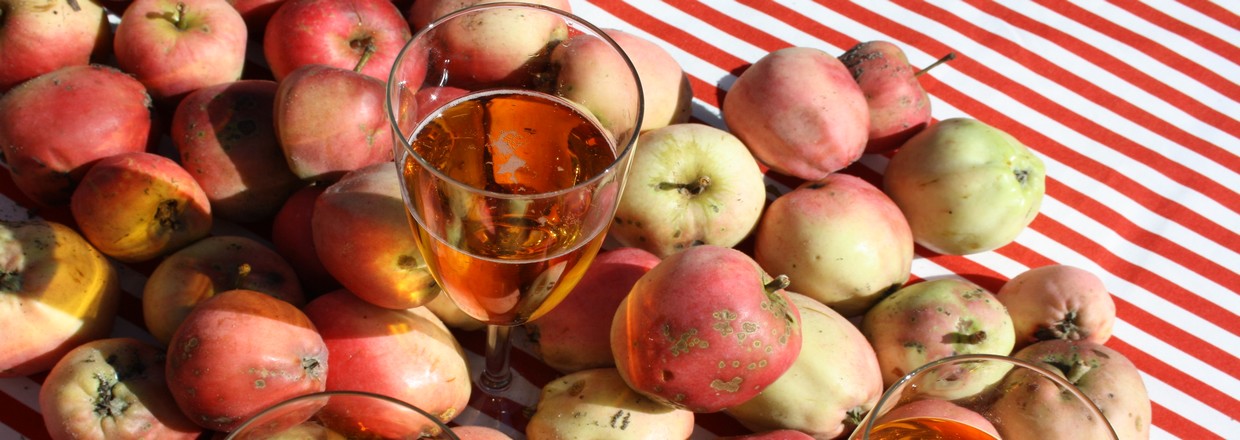
There are special cider apple varieties that producers and enthusiasts combine according to sweetness, acidity and tannin content. Bittersweet and bittersharp varieties in particular form the basis of good cider.

A very broad and diverse selection of special cider apple varieties is available through our website.
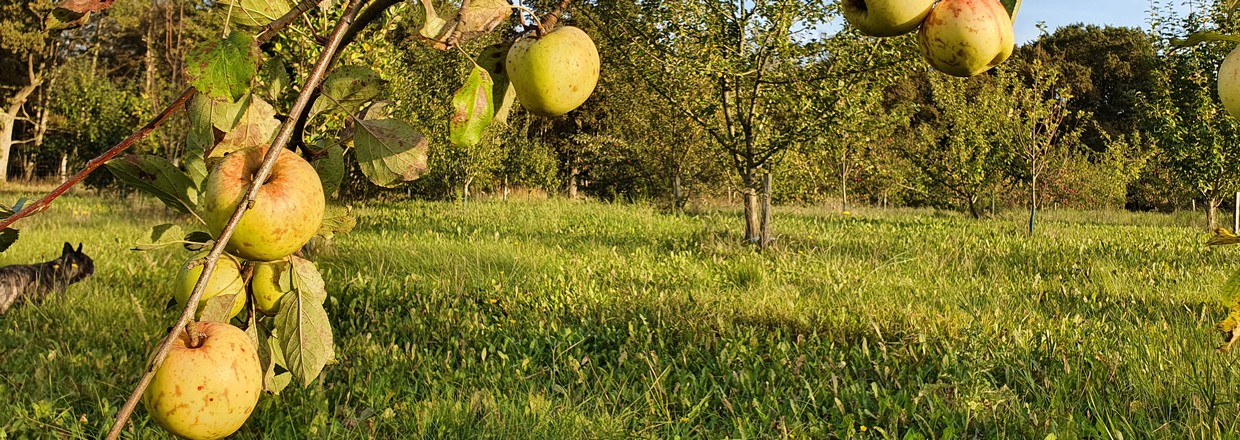
You can certainly make excellent homemade cider from apples that ripen at the same time in your own orchard. In most cases, the finest cider is achieved by blending different varieties to create the right balance of sweetness, acidity and tannins.
Across Central and Northern Europe, many of the most widely cultivated apple varieties are also well suited for cider making. Popular choices include Elstar, Jonagold, Boskoop (Belle de Boskoop), Cox's Orange Pippin, James Grieve, Gravenstein, Ingrid Marie, Aroma, Gloster, Gala, Golden Delicious, Topaz and Pinova. These varieties are commonly grown throughout Germany, Belgium, the Netherlands, Sweden and many other European countries, making them readily available to both home cider makers and commercial producers.
If you have access to traditional European cider apple varieties with naturally higher tannin levels, blending them with dessert apples will produce ciders with greater structure, complexity and depth of flavour. However, outstanding cider can also be produced entirely from common European orchard apples when the varieties are carefully selected and blended according to their sweetness, acidity and aromatic characteristics.
Even when these are not the varieties available in your garden, you can still go ahead and experiment.
When you can add a small amount of crab apples, you can create a more nuanced cider because of their often-present tannin content. However, it can be a little like wetting your finger and holding it in the air. Fermentation and flavour development from wild apples can go off in unexpected directions and, in the worst case, ruin your cider.
When you become more dedicated and seek the original flavour experience and intensity in which the tannins from bittersweet and bittersharp cider apples come forward and give the finished cider complexity, body and fullness, you will need to buy and plant special cider apple varieties.
Our clear recommendation regarding tannins is therefore to plant some original bittersweet and bittersharp cider apple varieties and blend them with your own garden apples.
Without juice from freshly pressed traditional cider apple varieties, you will have to work with two of the three components available to you: sharp cooking apples and sweet dessert apples.
Apple cider – apple blendThe optimum blend for homemade cider is as follows:
30% bittersweet apples 30% bittersharp apples 30% sweet apples 10% sharp apples |
Early apples do not produce cider as good as later varieties. Allow the apples to rest so each variety can develop its optimum flavour. Certain late varieties taste unpleasantly sharp in November, yet the same varieties may be enchanting in January. Be patient and allow each variety to reach its full potential.
Do not be tempted to use only sweet apples to achieve a high Oechsle reading, even though sweet apples should make up the largest proportion of your blend (see the recommended blend above). Bitter and sharp apples give your cider character.
Remember: full ripeness of the apples you intend to use is essential.
You cannot make homemade cider from apples that are not fully ripe. One of the obvious signs of ripe apples is brown pips.
However, the apple must not become overripe, as it will turn mealy and become unsuitable for cider making.
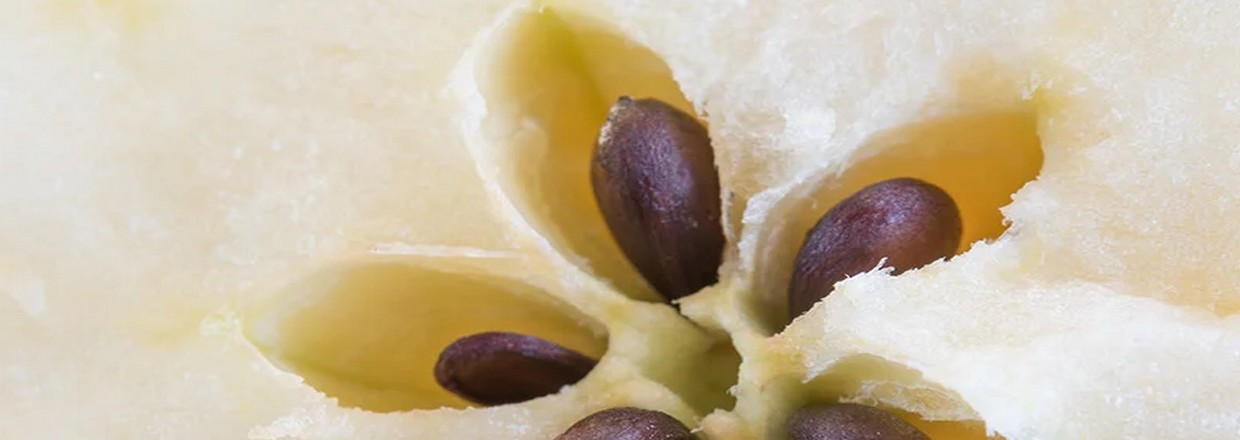
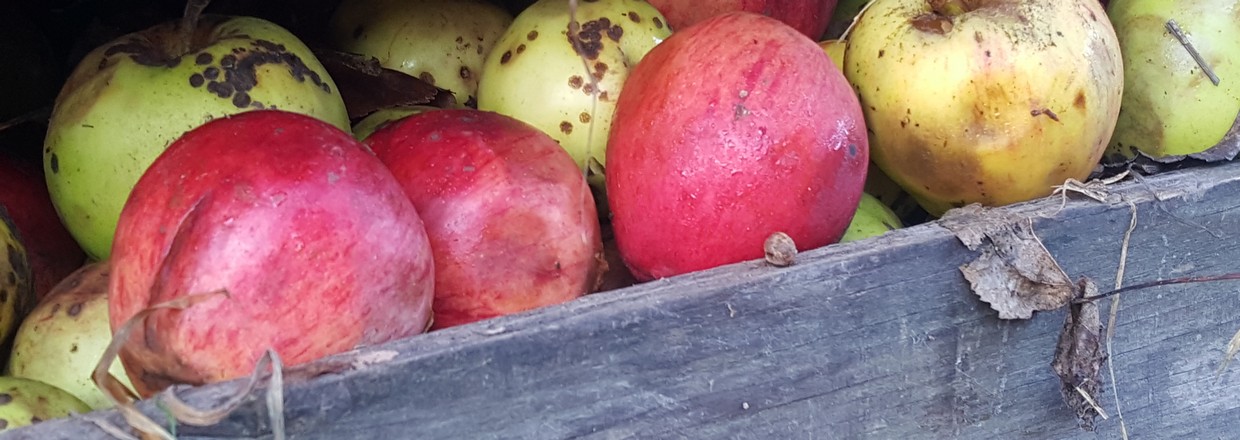
For cider making, you can use windfall apples. Wash them thoroughly.
Apples with bruises and apples affected by scab may be used, but rotten or worm-eaten apples must always be discarded.
Parts of the English cider industry are still struggling with the old reputation dating from the time when rotten apples were also included in the press.
A short anecdote from real life:
We were in the UK making cider. Together with the wonderful producer Tom and his team, we went out to inspect the windfall apples that were to be collected.
The apples were transported back on large trailers and unloaded at the cidery.
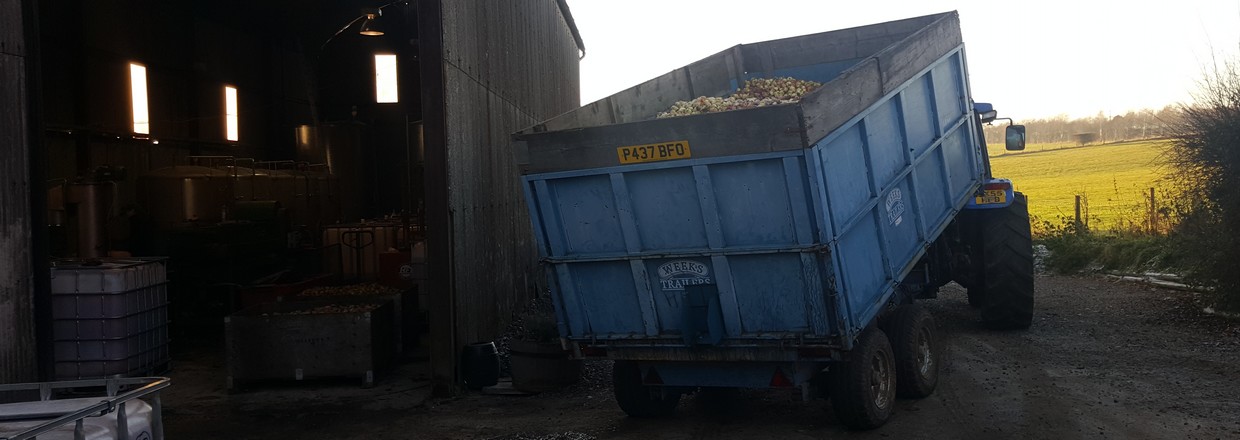
We were standing in the production area and were slightly concerned about all the apples that were not merely dark but black as they travelled into the mill and then on to the belt press. We took turns removing very dark and almost black apples from the washing elevator while Tom smiled at us.
‘Surely this one should be removed?’ – ‘Nope’
‘But this one must be rotten?’ – ‘Nope’
‘What about these then? They are almost black?’ – ‘Nope’
‘Ah, none of them at all then?’
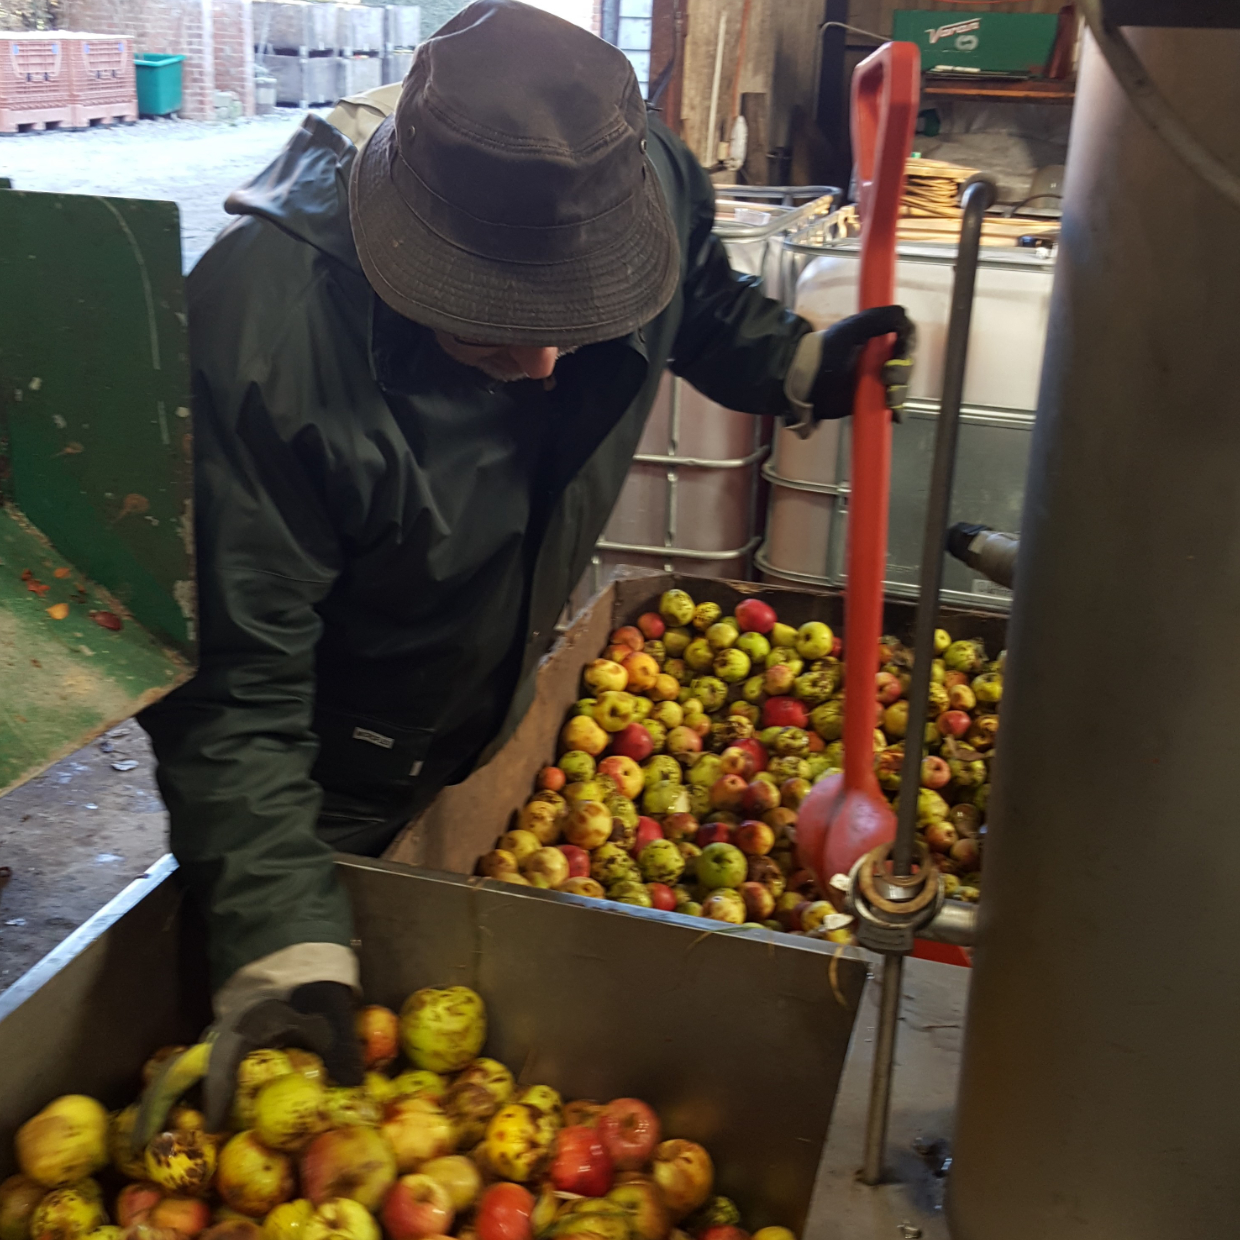
‘Oh yes,’ said Tom, pointing to the pitch-black, windblown, rotten and shrivelled specimen lying in the pile. ‘HIM.’
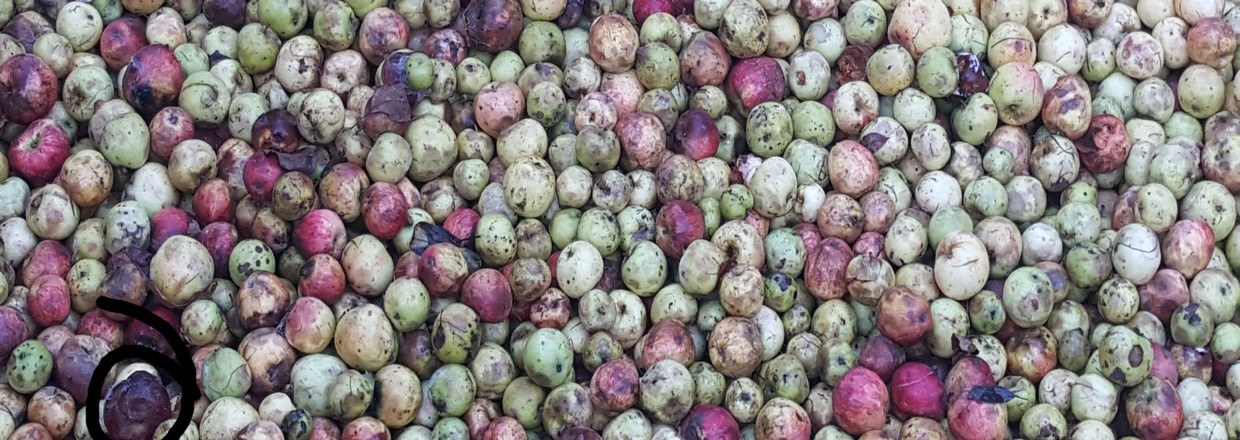
Once collected, the apples can beneficially be allowed to finish ripening in sacks or crates in a cool, well-ventilated location under cover for 1–4 weeks.
Find our selection of apple storage nets here
The ripening period depends on the maturity and sugar content of the varieties and, not least, their condition at harvest. Bruised apples with brown marks on the skin will not keep well.
Keep a close eye on your crates; the varieties will not be ready for pressing at the same time.
During the ripening period, the sweetness will develop. Storage in nets is preferable to apple crates because light reaches the apples in a net and helps them complete their final ripening and sugar development.
When ripening apples in crates, make sure they are covered but still adequately ventilated so the apples can release moisture.
Apple cider – French recipe
Before you begin.
| Two points must be emphasised before we go through the process: 1) Learn how to use your hydrometer – read more here Study the three scales, experiment with measurements and, above all, understand how the hydrometer works. It is an essential measuring instrument when making cider, and you must understand the readings, their meaning and their potential. 2) Write everything down Avoid repeating mistakes and try to recreate your small successes. Detailed notes will help you remember and understand why something turned out well or poorly. Variety blends, harvest time, maceration or no maceration, sugar and acidity measurements, additions, rackings, aroma, flavour, appearance and temperature are all important points to record in your brewing log. |
For cider apples, we know that the thin-skinned August and September varieties have a short shelf life. Although they are excellent juice apples, their limited keeping quality can make them difficult for home cider makers to store.
Why discuss storage rather than pressing? September is warm. It is the month of the final swim in the sea, tents still pitched along the River Gudenå and busy shelters at campsites – not the month for wet aprons, sticky floors, rubber boots and starting cider production.
When your apples become ready for cider while you are still swimming and barbecuing, find a good, cool place to store them.
You need to approach the ideal cider-making temperature of 8–12°C. Within this range, fermentation is easier to control and temperature is, fundamentally, one of the most important factors in producing a successful cider.
The workflow below is based on cider making in October, November and December.
The temperature should preferably remain low, no more than 8–12°C, to keep fermentation calm.
French cider:
Harvest and fruit:
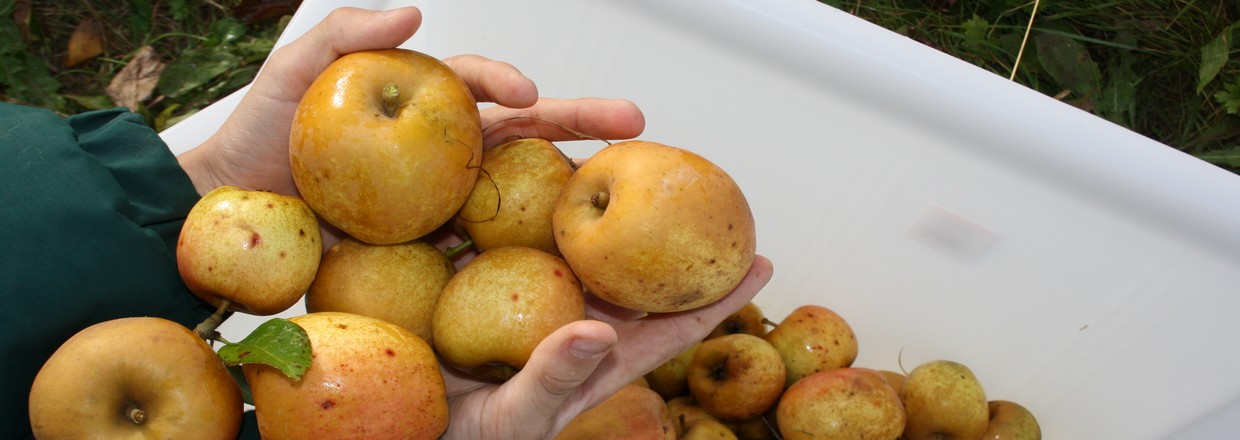
Use only fully ripe apples. It is important that the apples you choose contain as much sweetness as possible. Blend the varieties available to you that have ripened at the same time and aim for the composition described above.
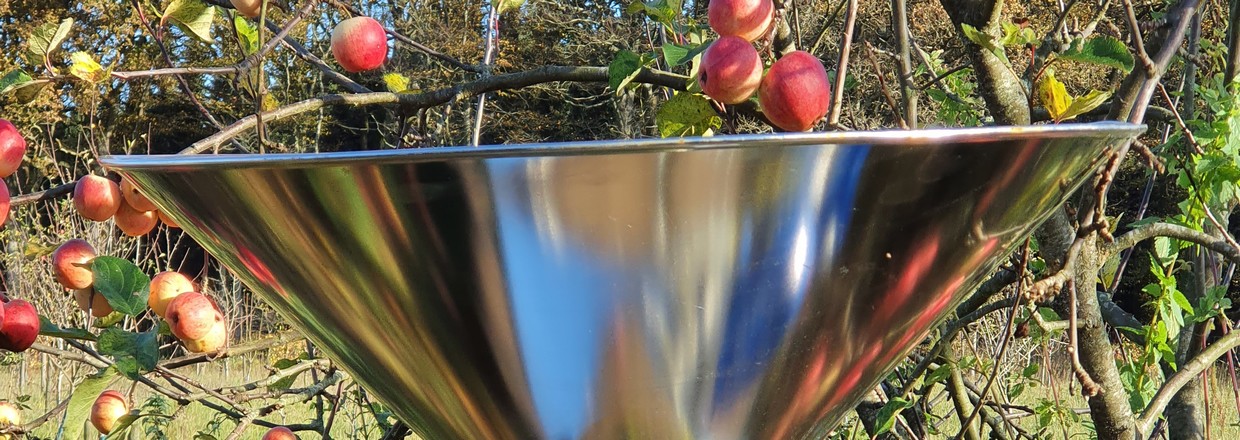
Wash the apples and feed them into your fruit mill.
It is important to use a mill that crushes the apples correctly to obtain the highest possible juice yield and facilitate the release of pectin.
Leave the apple pulp in plastic tubs for 8–24 hours.
During this process, oxidation causes the pulp to turn brown, while pectin is released from the apple cell walls into the juice.
Some cider makers prefer a longer maceration period. In general, macerating the pulp gives a beautiful amber colour, more flavour nuances, easier pressing, a higher yield and increased settling of pectin and impurities.
After pressing and about the pH of the juice:
Press the pulp and measure the pH using your pH strips.
The value should be between 3.2 and 3.8.
You may adjust or blend the juice with other types to obtain the correct pH before starting the process.
|
Find our excellent pH meter for cider, juice and wine here A safe and efficient handheld digital pH pen for quick and easy measurement of pH in products including must, juice, cider, wine, beer, fermented vegetables and kombucha.
|
Measure the Oechsle value of the juice immediately and record it in your brewing log.
You need to know what you have and where it can lead.
What is a hydrometer?

A hydrometer is a floating instrument that measures the specific gravity of a liquid.
The figure you need to read is shown on the hydrometer and is labelled ‘densité à 20°C’.
In other words, you are looking for the value beginning with one thousand.
You need to know the sugar content of your juice to determine how much alcohol can potentially develop in your cider.
Your original gravity determines the potential alcohol content of the cider. Together with the point at which you choose to stop fermentation and bottle the cider, it determines the final alcohol content and sweetness.
Measuring alcohol with a hydrometer – facts:
OG: Original Gravity = Oechsle reading before fermentation Producing 1% alcohol consumes 16 grams of sugar per litre, equivalent to a fall of 7.6° Oechsle during fermentation. Alcohol content is expressed as ABV. ABV stands for ‘Alcohol by Volume’ and indicates the percentage of alcohol in a liquid relative to the total volume. Alcohol by volume (ABV) is calculated by multiplying the number of Oechsle degrees consumed during fermentation by 0.133. The calculation is shown below: ABV = 0.133 × OG minus FG |
As sugar is converted into alcohol during fermentation, the specific gravity falls and the hydrometer sinks further into the liquid in the measuring cylinder.
Use the hydrometer after any added sugar has been thoroughly dissolved, at 20°C, both at the beginning and at the end of fermentation.
The hydrometer allows you to determine how much alcohol the finished cider will contain. Read the value where the liquid surface intersects the scale and always take the reading at 20°C.
Hydropresses and more information – see our large selection here
|
Simple FAQ:
Alcohol develops when the yeast cells consume the sugar in the juice. More sugar means that more alcohol can develop. A high sugar content in the juice gives a high Oechsle value; a low sugar content gives a low Oechsle value. As the yeast cells convert the sugar in the juice, the Oechsle reading falls. The juice must be measured at room temperature, at 20°C. |
The hydrometer has three scales:
1: Densité at 20°C, SG: the specific gravity of the liquid.
2: Sugar content in grams per litre.
3: Potential alcohol development if all the sugar in the liquid ferments and is converted into alcohol.
See the Oechsle table below:
| Specific gravity g/l (SG) | Sugar content g/l | Potential alcohol |
| 1.000 | 1,3 | 0 |
| 1.001 | 1,8 | 0 |
| 1.002 | 3 | 0,05 |
| 1.003 | 5 | 0,20 |
| 1.004 | 7 | 0,30 |
| 1.005 | 9 | 0,40 |
| 1.006 | 11 | 0,55 |
| 1.007 | 13,5 | 0,70 |
| 1.008 | 15,5 | 0,80 |
| 1.009 | 18 | 0,95 |
| 1.010 | 20 | 1,10 |
| 1.011 | 22 | 1,20 |
| 1.012 | 24 | 1,30 |
| 1.013 | 26 | 1,45 |
| 1.014 | 28 | 1,55 |
| 1.015 | 30 | 1,70 |
| 1.016 | 32 | 1,80 |
| 1.017 | 34 | 1,90 |
| 1.018 | 36,5 | 2,10 |
| 1.019 | 38,5 | 2,20 |
| 1.020 | 40,5 | 2,30 |
| 1.021 | 42,5 | 2,40 |
| 1.022 | 44,5 | 2,55 |
| 1.023 | 46,5 | 2,65 |
| 1.024 | 48,5 | 2,80 |
| 1.025 | 51 | 2,95 |
| 1.026 | 53 | 3,05 |
| 1.027 | 55 | 3,20 |
| 1.028 | 57,5 | 3,30 |
| 1.029 | 59,5 | 3,45 |
| 1.030 | 61,5 | 3,55 |
| 1.031 | 64 | 3,70 |
| 1.032 | 66 | 3,85 |
| 1.033 | 68 | 3,95 |
| 1.034 | 70 | 4,10 |
| 1.035 | 72,5 | 4,20 |
| 1.036 | 74,5 | 4,35 |
| 1.037 | 76,5 | 4,45 |
| 1.038 | 79 | 4,60 |
| 1.039 | 81 | 4,75 |
| 1.040 | 83,5 | 4,90 |
| 1.041 | 86 | 5,05 |
| 1.042 | 88 | 5,15 |
| 1.043 | 90,5 | 5,30 |
| 1.044 | 93 | 5,45 |
| 1.045 | 95 | 5,60 |
| 1.046 | 98,5 | 5,75 |
| 1.047 | 100 | 5,90 |
| 1.048 | 102,5 | 6,05 |
| 1.049 | 105 | 6,20 |
| 1.050 | 107,5 | 6,35 |
| 1.051 | 110 | 6,50 |
| 1.052 | 112 | 6,60 |
| 1.053 | 114,5 | 6,70 |
| 1.054 | 117 | 6,90 |
| 1.055 | 119,5 | 7,05 |
| 1.056 | 122 | 7,20 |
| 1.057 | 124 | 7,30 |
| 1.058 | 126,5 | 7,45 |
| 1.059 | 129 | 7,60 |
| 1.060 | 131 | 7,75 |
| 1.061 | 133 | 7,85 |
| 1.062 | 135 | 8,00 |
| 1.063 | 137 | 8,10 |
| 1.064 | 139,5 | 8,25 |
| 1.065 | 141,5 | 8,35 |
| 1.066 | 143,5 | 8,50 |
| 1.067 | 145,5 | 8,60 |
A link to a full conversion table can be found HERE
The total sugar content of the juice indicates the potential final alcohol content if the cider is fermented completely dry.
For a successful French cider, we recommend fermenting juice with an Oechsle reading of at least 1055 after pressing.
When the Oechsle value is too low, blend in another freshly pressed juice with a higher value to raise the overall Oechsle reading.
|
For cider making using the French method, you now have: Freshly pressed juice that has not been pasteurised Freshly pressed juice with no additions of any kind Freshly pressed juice with a sugar reading of 1055 or preferably higher Freshly pressed juice with a pH between 3.2 and 3.8. Please note that the acidity values stated above are essential for the juice to release pectin and form a cap. Unripe apples and juice with acidity outside the stated range will not form a cap. |
The cap
For your cider to be made using the French method and bottled with residual sweetness, the juice must now undergo the process in which the cap is formed.

Proceed as follows:
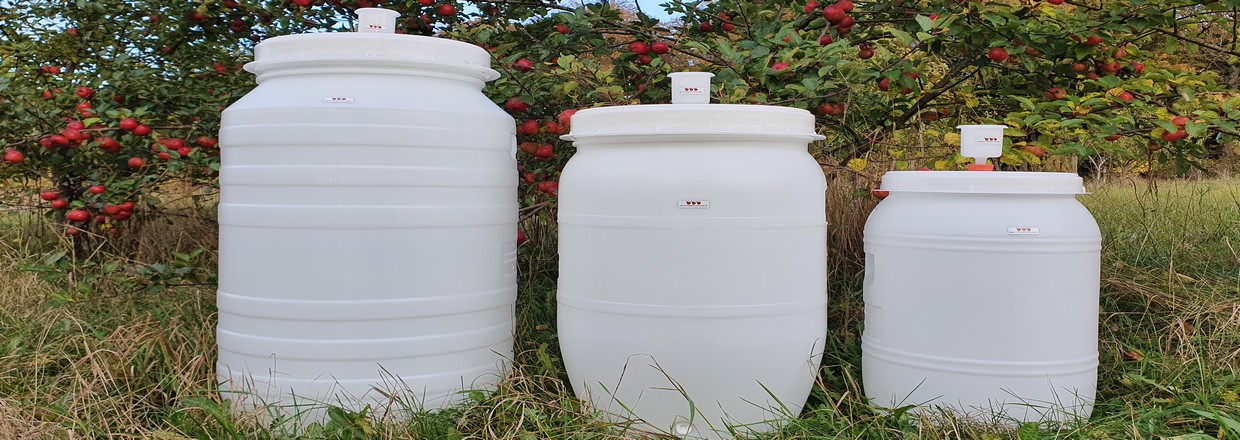
Pour the freshly pressed juice into open food-grade plastic barrels, tanks, tubs or fermentation buckets with a large surface area.
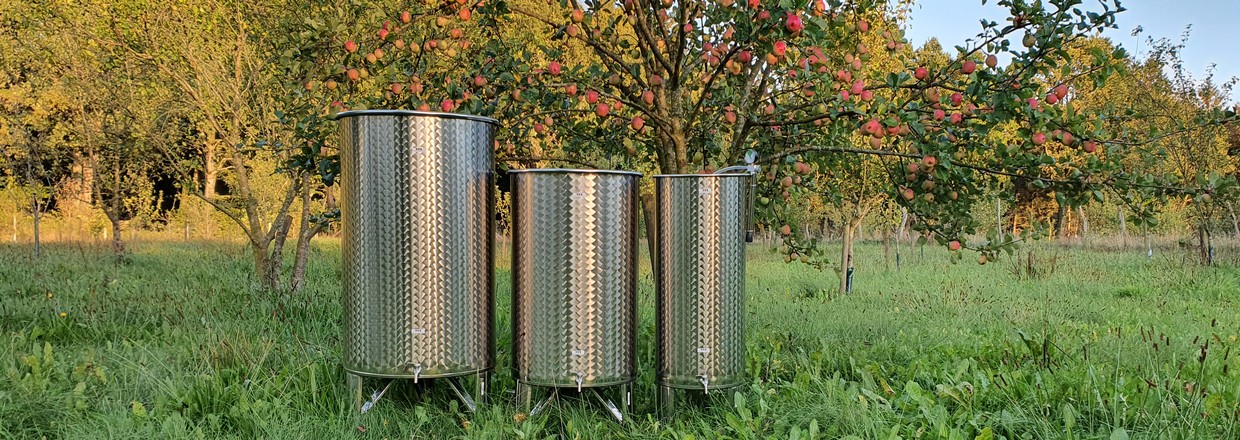
Find our selection of plastic barrels and fermentation tanks here:
You may cover the surface with a cloth to protect it from impurities, but leave the surface open during the process whenever possible. Do not seal it with a lid.
|
Then add the EuroYeast French Cider Kit, available here
|
Detailed instructions are included, ensuring that you are guided through every stage of the process and achieve the desired result.
The kit contains Part 1 and Part 2, which must be added in accordance with our carefully developed instructions.
Within a few days, the pectin in the juice will bind together and form the cap.
This process reduces both the pectin and nitrogen levels in the juice by approximately half.
This is exactly what you want as a cider maker because, when the juice has a low nitrogen content, fermentation proceeds slowly and the cider can be bottled with aroma, alcohol and residual sweetness.
French cider that has undergone successful fermentation as described above becomes crystal clear and can develop a wonderfully fruit-rich character without sediment and without prior disgorging.
Everything naturally present in the juice that does not benefit the cider is removed during the initial process after the French Cider Kit is added, leaving the cider with everything you want to preserve.
French cider making – The cap forms and clarification begins:

Leave the juice for 8–12 days to form the cap. For success, you must be careful to keep the juice precisely within the stated temperature range.
The process is slow, so patience is required here as well.
Days 1–4/5: The surface becomes covered with dark clumps of pectin that link together. The cap may also form as a block of jelly extending from the bottom to the top of the vessel.
Days 5–8: The cap increases in volume and surface area. It may become completely dense and rise upwards, or form smaller islands. It darkens.
Days 7–12: Small patches of white foam appear on the surface, indicating that fermentation has begun. The cap is lifted towards the surface by the development of CO₂ and must now be skimmed off.
Your tub or bucket now has a layer on top that must be removed.
Remove the cap with a slotted spoon, for example, or use a siphon to draw off the middle section of the fermentation vessel – the juice that is now clear like a deep woodland lake. The easiest method depends on how the cap has formed.
Unwanted organisms are now bound in the upper layer, while dead yeast cells and other brownish or whitish sediment have settled at the bottom.


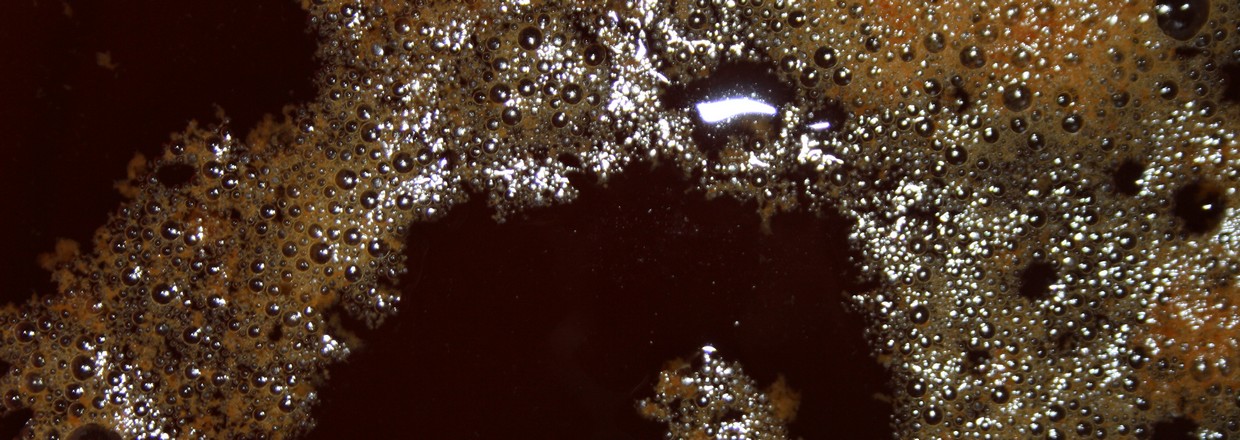
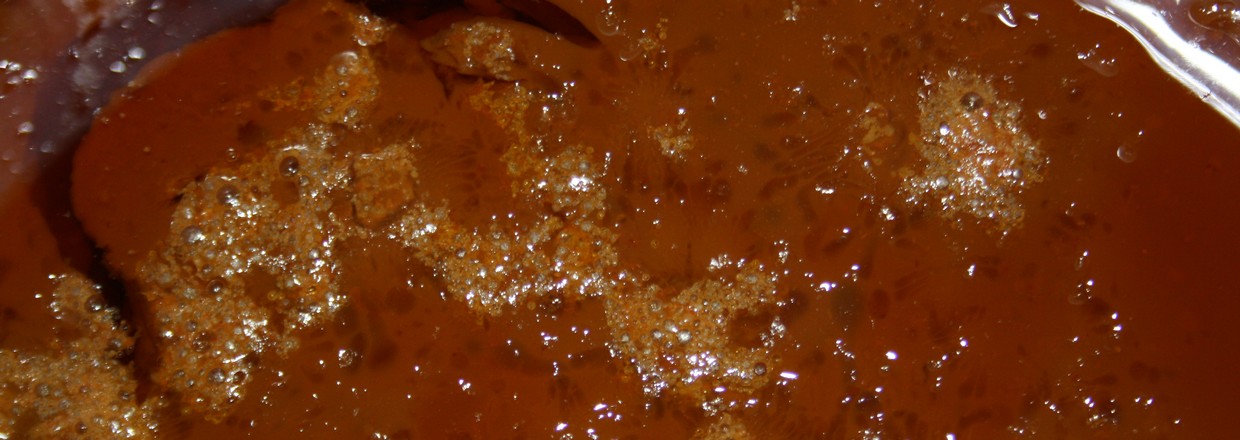
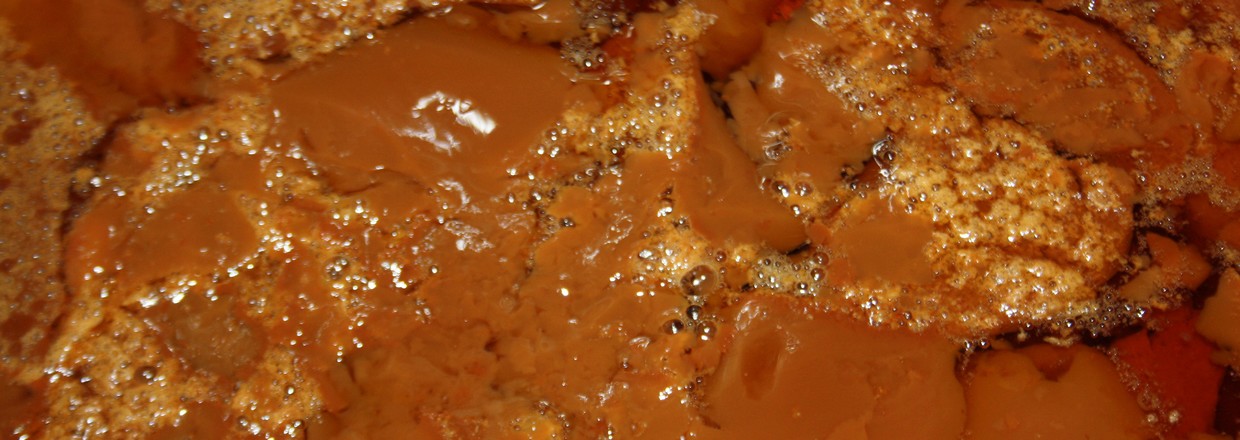
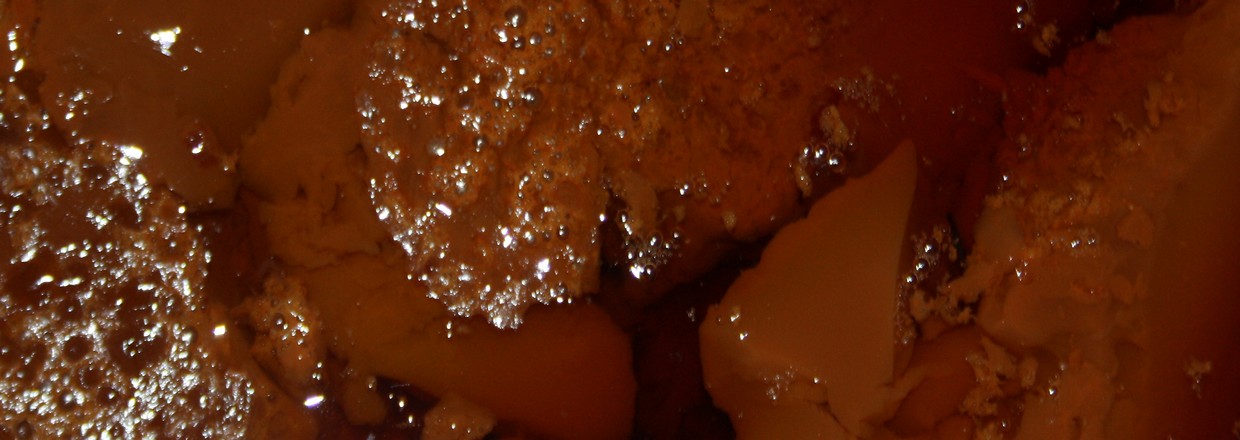
The caps can take as many different forms as there are fermentation buckets and batches.
#cap1
Black as engine oil: UK blend of five cider apple varieties mixed with a Danish blend of two dessert apples
#cap2
Amber-coloured, four days of maceration, blend of eight bittersweet UK varieties mixed with the Danish Ildrød Pigeon variety
#cap3
Golden caramel, 24 hours of maceration, blend of three vintage French varieties from Normandy mixed with one Danish dessert apple variety
#cap4
Dark leather-coloured, single-variety vintage cider, bittersweet, 24 hours of maceration
Beneath the cap, you now have the basis for making some of the world's finest sparkling cider, and fermentation can be stopped relatively easily while retaining wonderful residual sweetness.
For the continued fermentation of your pectin- and nutrient-depleted juice, you will need a stainless-steel variable-capacity tank, fermentation bucket or barrel and a siphon.
Once you have racked the cider, most of the work is complete.
The cider must now undergo cool fermentation. Fill the airlock with water.
Place the tank, demijohn or barrel in a cool room at the all-important temperature of 8–12°C.
Allow the batch to ferment slowly and steadily.
From this point onwards, monitor the Oechsle value carefully and take frequent measurements.
Measure the sugar content of the juice by taking a sample with a wine thief
Then transfer cider from the wine thief into your 250 ml measuring cylinder
Now measure the sugar content of the cider with your hydrometer
Your hydrometer reading determines how long the cider should ferment before bottling, based on the amount of residual sweetness you wish to retain.
Rack into a clean demijohn if fermentation is proceeding too quickly. Racking separates the juice from the sediment in the tank.
Racking removes some of the nutrients available to the yeast cells and therefore slows fermentation.
French cider making
Start the juice in a barrel or tank in October, November or December with an original gravity of approximately 1055 or higher.
Rack for the first time in January. The density will typically have fallen by around 20 Oechsle degrees. Allow the cider to continue fermenting slowly.
When the cider reaches an Oechsle value of around 1030, you can bottle it. This first bottling from the batch will produce a medium-sweet or medium-dry cider, provided the cider is stable.
Remember to release the dissolved carbon dioxide before bottling so the cider does not foam over. Do this by racking again immediately before bottling.
|
What is a stable cider?
Test whether the cider is ready for bottling by confirming that the Oechsle reading falls by no more than two degrees over a period of 14 days. The cider must also be clear enough for you to see through it and read a newspaper held behind the bottle. |
The flavour profiles of the different types of sparkling cider in France are divided into several categories.
The different descriptions for residual sugar content and style are shown below:
| Type | French designation | Oechsle value / SG | Sugar content |
| Dry | Brut Naturel/Brut Zéro | 999-1000 | 0–3 g per litre |
| Dry | Extra Brut | 1000-1002 | 0–6 g per litre |
| Dry | Brut | 1005-1008 | < 15 g per litre |
| Medium-dry/medium-sweet | Extra Sec/Extra Dry | 1005-1010 | 12–20 g per litre |
| Sweet | Sec | 1008-1014 | 17–35 g per litre |
| Sweet | Demi-Sec | 1012-1020 | 33–50 g per litre |
| Sweet | Doux | >1020 | > 50 g per litre |
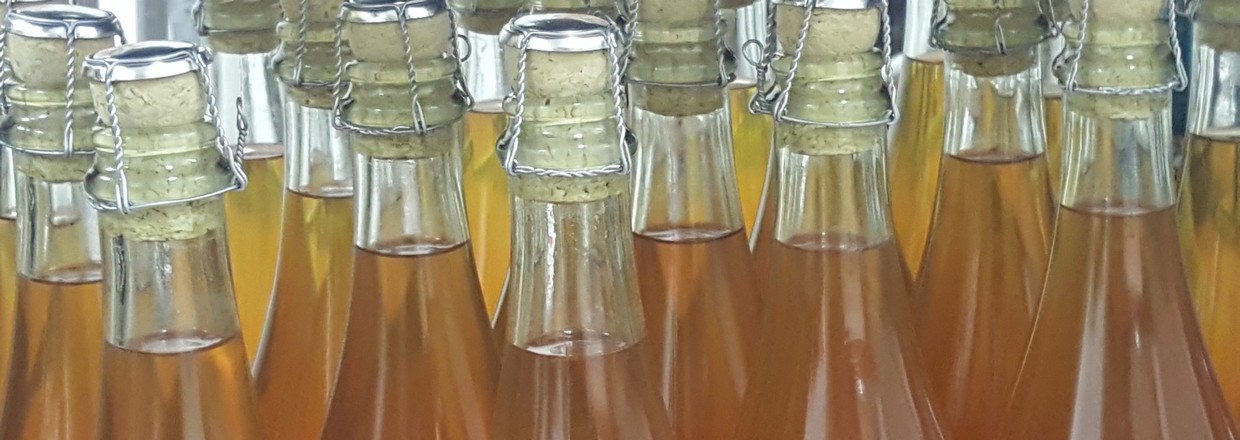
You must use champagne bottles for bottling, capable of withstanding the pressure generated by continued bottle fermentation. This means champagne bottles weighing at least 750 grams for a 75 cl bottle and 500 grams for a 37.5 cl bottle.
Swing-top bottles, wine bottles and so-called cider bottles weighing 560 grams may only be used for sulphited or pasteurised cider – in other words, cider in which the yeast is no longer active after the stopper and wirehood have been fitted.
When you have made cider according to our French cider-making guide, you can always bottle it in our 750 gram bottles.
Heavier champagne bottles are also available on the market, weighing 830 grams and 900 grams. These bottles are heavy and excellent for cider made by the traditional champagne method, where bottle pressure is considerably higher, but they are unnecessary and excessive for the method presented here.
Filling champagne bottles:
- For small batches of 30–60 litres. Use the bottle filler available here to ensure fast filling with minimal oxidation of the liquid
Insert the stopper and wirehood; find our selection here.
|
Ageing does a wonderful job of developing the aromas in your cider. Cider generally continues to develop for 1–2 years after bottling. Those fermenting original cider apple varieties will particularly appreciate the rewards of ageing.
Remember: Cider sealed with a plastic champagne stopper must be stored vertically and cold. Remember: Cider sealed with a natural cork champagne stopper must be stored horizontally and cold. |
Calculate the alcohol content of your finished cider by subtracting the final Oechsle value from the original Oechsle value and dividing by eight.
Example: original gravity 1060 minus final gravity 1020 = 40 Oechsle degrees = 5 (40 divided by eight).
Add one percentage point of alcohol from bottle fermentation, giving a final alcohol content of 6%.
Allow for approximately one additional percentage point of alcohol developing in the bottle, equivalent to a further fall of eight Oechsle degrees.
Please note that bottle fermentation will continue after the bottles have been filled and sealed.
We wish you every success and much enjoyment with your cider making.
| Welcome to a world of apples and the world's best hobby |
French cider – controlled, natural clarification with residual sweetness
The French method of cider making is a classic technique for creating naturally sweet, brilliantly clear and richly flavoured cider with delicate residual sweetness. The process removes pectin and nutrients so fermentation proceeds slowly and stops naturally. The result is an elegant cider with lower alcohol, deeper aromas and a silky mouthfeel.
The key to the process
- Part 1 converts pectin into a form capable of creating a stable gel
- Part 2 binds the pectin and creates the characteristic brown cap
- The clear juice beneath the cap is carefully drawn off and forms the basis of the finished cider
Why does it work?
The method reduces the nutrient content so fermentation becomes slow and gentle. This creates milder CO₂ development, less yeasty flavour and a cleaner fruit profile. Modern enzymes make the technique more reliable, even at lower pH, helping the process succeed.
Experience
French cider making is a craft. You can create a cider with character, residual sweetness and finesse that are otherwise difficult to achieve. Once you have successfully made it, you will return to the method again and again as your preferred approach.
Cider apple trees – apple trees for cider making – cider apple varieties